


A lady at church was trying to get us to make knitted beanies for people who may be homeless, have cancer or for new born babies. Although I want to help where I can I seriously doubted my knitting skills. (I had none). She swore that it wouldn't take more than a couple hours for an entire hat and that anyone could do it. I told her she was a liar but I sat down to work on my project. The first one did take a little bit of getting used to but she was right.. It only took a couple of hours (now I'm down to 2-2 1/2 per hat) and I'M HOOKED! I apologized for telling her she was a liar and handed in 3 hats that week. So for all you out there that are interested in learning how to knit on a loom for quick things. Or you want to help people by doing a quick craft here are some step by step instructions.

Here is the final product as worn by the irritated Bebe. I needed a model and she was the only one home. She loves getting her picture taken. Can't you tell?!
First Step: Buy Yarn (for Knitting) and a Knifty Knitter Loom set. These come with 3 loom sizes generally and the hook you need. You can almost always get these 40% off at Joann's or Michael's.

Start by making a loose tie around the end knob on the loom.
Make sure you have 2 strings of yarn going around each peg.

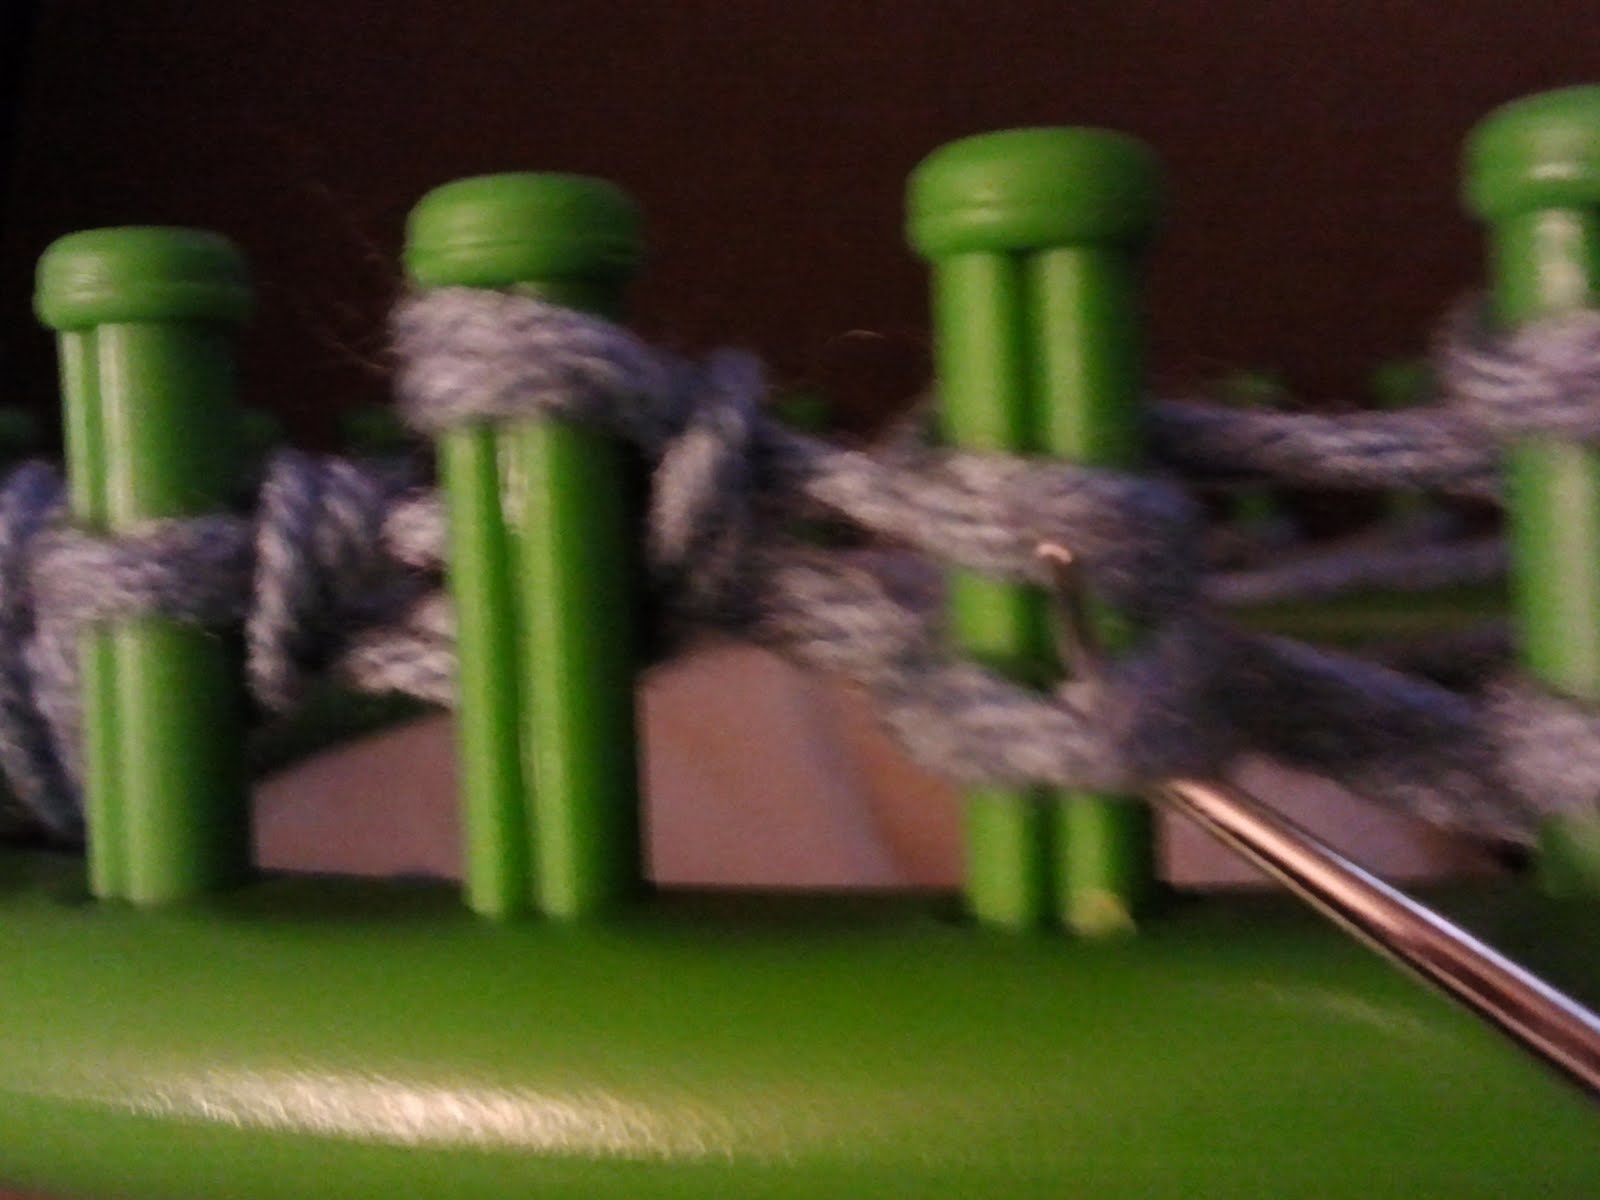
take the yarn and go under the peg and come back up.

Loop around the peg and do the same on the next peg. Follow all the way around the loom until you are back where you started.

The inside will look like this.

Once you have done this begin at the peg you just ended on. Take your hook and pull the bottom row up over the top row and over the top of the peg.

This is what it will look like. After you have gone all of the way around so that you only have one row on each peg push this row down to the bottom of the peg.

Keep doing this until you get to get to double the desired length that you want your rim to be. The rim can be as short or long as you want (you can even do rimless but it rolls up if you do that). grab the original opening at the very end and flip it up and over the peg. This will create another row. You will hook around the loom just like you did before. This creates a double thick layer that will be the rim of the hat.


See instructions above.

Continue doing this until you get the desired length of the hat. This varies depending on the size of the hat and how tall you want it to be. Make sure only one loop is on each peg.

When you have reached the desired length cut off 1 1/2 feet of yarn more than the end of your last stitch. Using a wide opening needle thread the yarn up through the loop on each peg. Pull it through so it makes a circle around the top of the hat with each loop on it.

After you have gone all the way around it will look like this and will be completely off of the loom.

Begin pulling the end of the yarn. This pulls the ends together.
At this point begins sewing in a * pattern over the top of the opening. when you have created the star pattern on the top turn the hat inside out and sew back and forth reinforcing the stitches and then tying a knot. Trim any loose ends and you have a hat!
If you need further instructions www.youtube.com has great tutorial videos.
If you feel so inclined feel free to send me hats to turn in to help people or find an organization in your area to support.
I promise this is super easy and quick.


I will totally make some hats for your cause. I really support people who want to annoy dogs. Just kidding, I am all about knitting for people who actually WANT the thing I am making!
ReplyDeleteI appreciate your support : ) You like to annoy my dog sometimes too.
ReplyDeleteI love your knitting!!! I want your stuff! You are way craftier than I.
That looks surprisingly easy. I think I'm going to go buy the stuff and give it a try.
ReplyDeleteThanks for visiting on my SITS day. Come back any time. You're always welcome.
Thanks grams! you should try!
ReplyDeleteCute site!
I've made these before and they are so cute. I've never gotten fancy enough to make them in multiple colors, but you're right, they are cute & easy. Thanks for visiting me on my SITS day.
ReplyDeleteI love these pictures - great tutorial - I wish you lived closer so we could be crafty together....
ReplyDelete